Help & Setup Guide
Getting the most
out of your Nuur.
Everything you need to know - from first power-on to changing your reciters. Setup takes under a minute and works from an iPhone, an Android phone, or any laptop.
Connect your Nuur to WiFi
This only happens once — when you first plug in your Nuur, or after a factory reset. No app to install, no account to create. The whole thing takes under a minute.
Plug in your Nuur
Connect the USB-C cable to the fast-charging power supply. Your Nuur starts broadcasting its own WiFi network named NUURXXXX (the last four characters are unique to your device).
Join the NUURXXXX network
On your phone or laptop, open WiFi settings and connect to NUURXXXX just like any other network or scan the QR code displayed on screen. No password is needed to join it.
The setup page opens automatically
iPhone and Android will prompt "Sign in to network" and open a browser for you within a few seconds. On a laptop, open any browser tab if one doesn't appear on its own — you'll land on the same page either way.
Choose your home WiFi and enter the password
Pick your home network from the list (or type its name), enter the WiFi password, and tap Connect →.
Wait a few seconds while it joins
Your Nuur tests the connection — this can take up to about 20 seconds. Your phone will disconnect from NUURXXXX during this step; that's expected, Nuur will let you know the status on its own screen.
"Connected!" — you're done
Your Nuur joins your home network and immediately fetches today's official MUIS prayer times. The display returns to the normal clock face within moments.
Step 2 — joining the device's own network
Step 4 — entering your home WiFi
Step 6 — setup complete
Typed the wrong password? No need to restart the device — Nuur will tell you the error on its screen, and you can reconnect to NUURXXXX and try again right away.
Opening your settings page
Your Nuur is pre-configured and works out of the box — opening settings is optional. When you do want to change something, there's no app and no account. Just a QR code on the display.
Hold the middle touch pad (نور)
Press and hold for about 1.5 seconds. This works from the normal clock face at any time — except during the adhan itself.
Open your settings page
Option A: A QR code appears on the display for 60 seconds. Open your phone's regular camera app and point it at the screen — no separate app needed. It opens your Nuur's private settings page in your browser.
Option B: If you can't scan the QR code, open my.nuur.sg in your browser and enter the access code shown on the display manually.
Bookmark it for next time
Once the page has opened once, your browser remembers you — bookmark my.nuur.sg and you can return to it directly without scanning again.
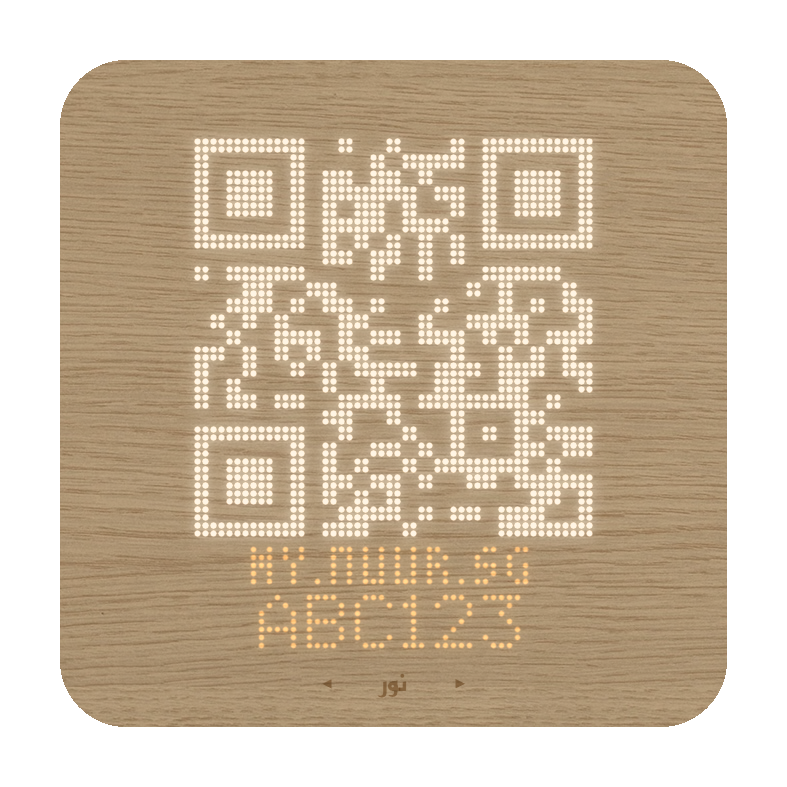
Hold نور for ~1.5s to bring this up
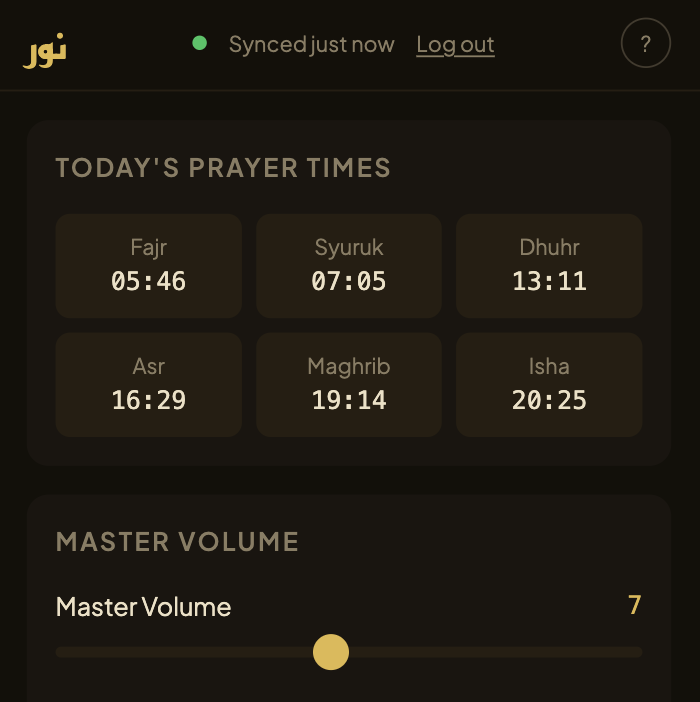
What scanning the code opens
No login, no password. The link itself grants access to your Nuur settings page. The access code is valid for only 5 minutes and changes every time you request one.
What you can change
Today's MUIS prayer times are shown at the top of the settings page for reference (read-only — they always come straight from MUIS). Below that, everything is adjustable per prayer.
Master volume
One slider (0-15) that controls every prayer's audio proportionally. This is the same level you can change day-to-day with the touch pads on the device itself.
Per-prayer reciter
Choose the adhan reciter independently for Fajr, Dhuhr, Asr, Maghrib, and Isha, with an in-page preview so you can listen before saving.
Per-prayer volume & ambient
Set a relative volume per prayer (e.g. Fajr quieter, Maghrib louder) and pick a pre-adhan ambient track — or turn it off — for each prayer individually.
Pre-adhan window
Choose 5 or 10 minutes of gentle amber glow and soft ambient audio before each adhan begins, so the household is ready before the call is made — or turn it off entirely.
Display brightness
Set the peak brightness level and toggle the automatic dimming ramp that runs after Isha for a quieter nighttime glow.
Quran volume & sleep timer
Quran playback has its own independent volume and an optional sleep timer (15 / 30 / 60 minutes, or off) that stops playback automatically.
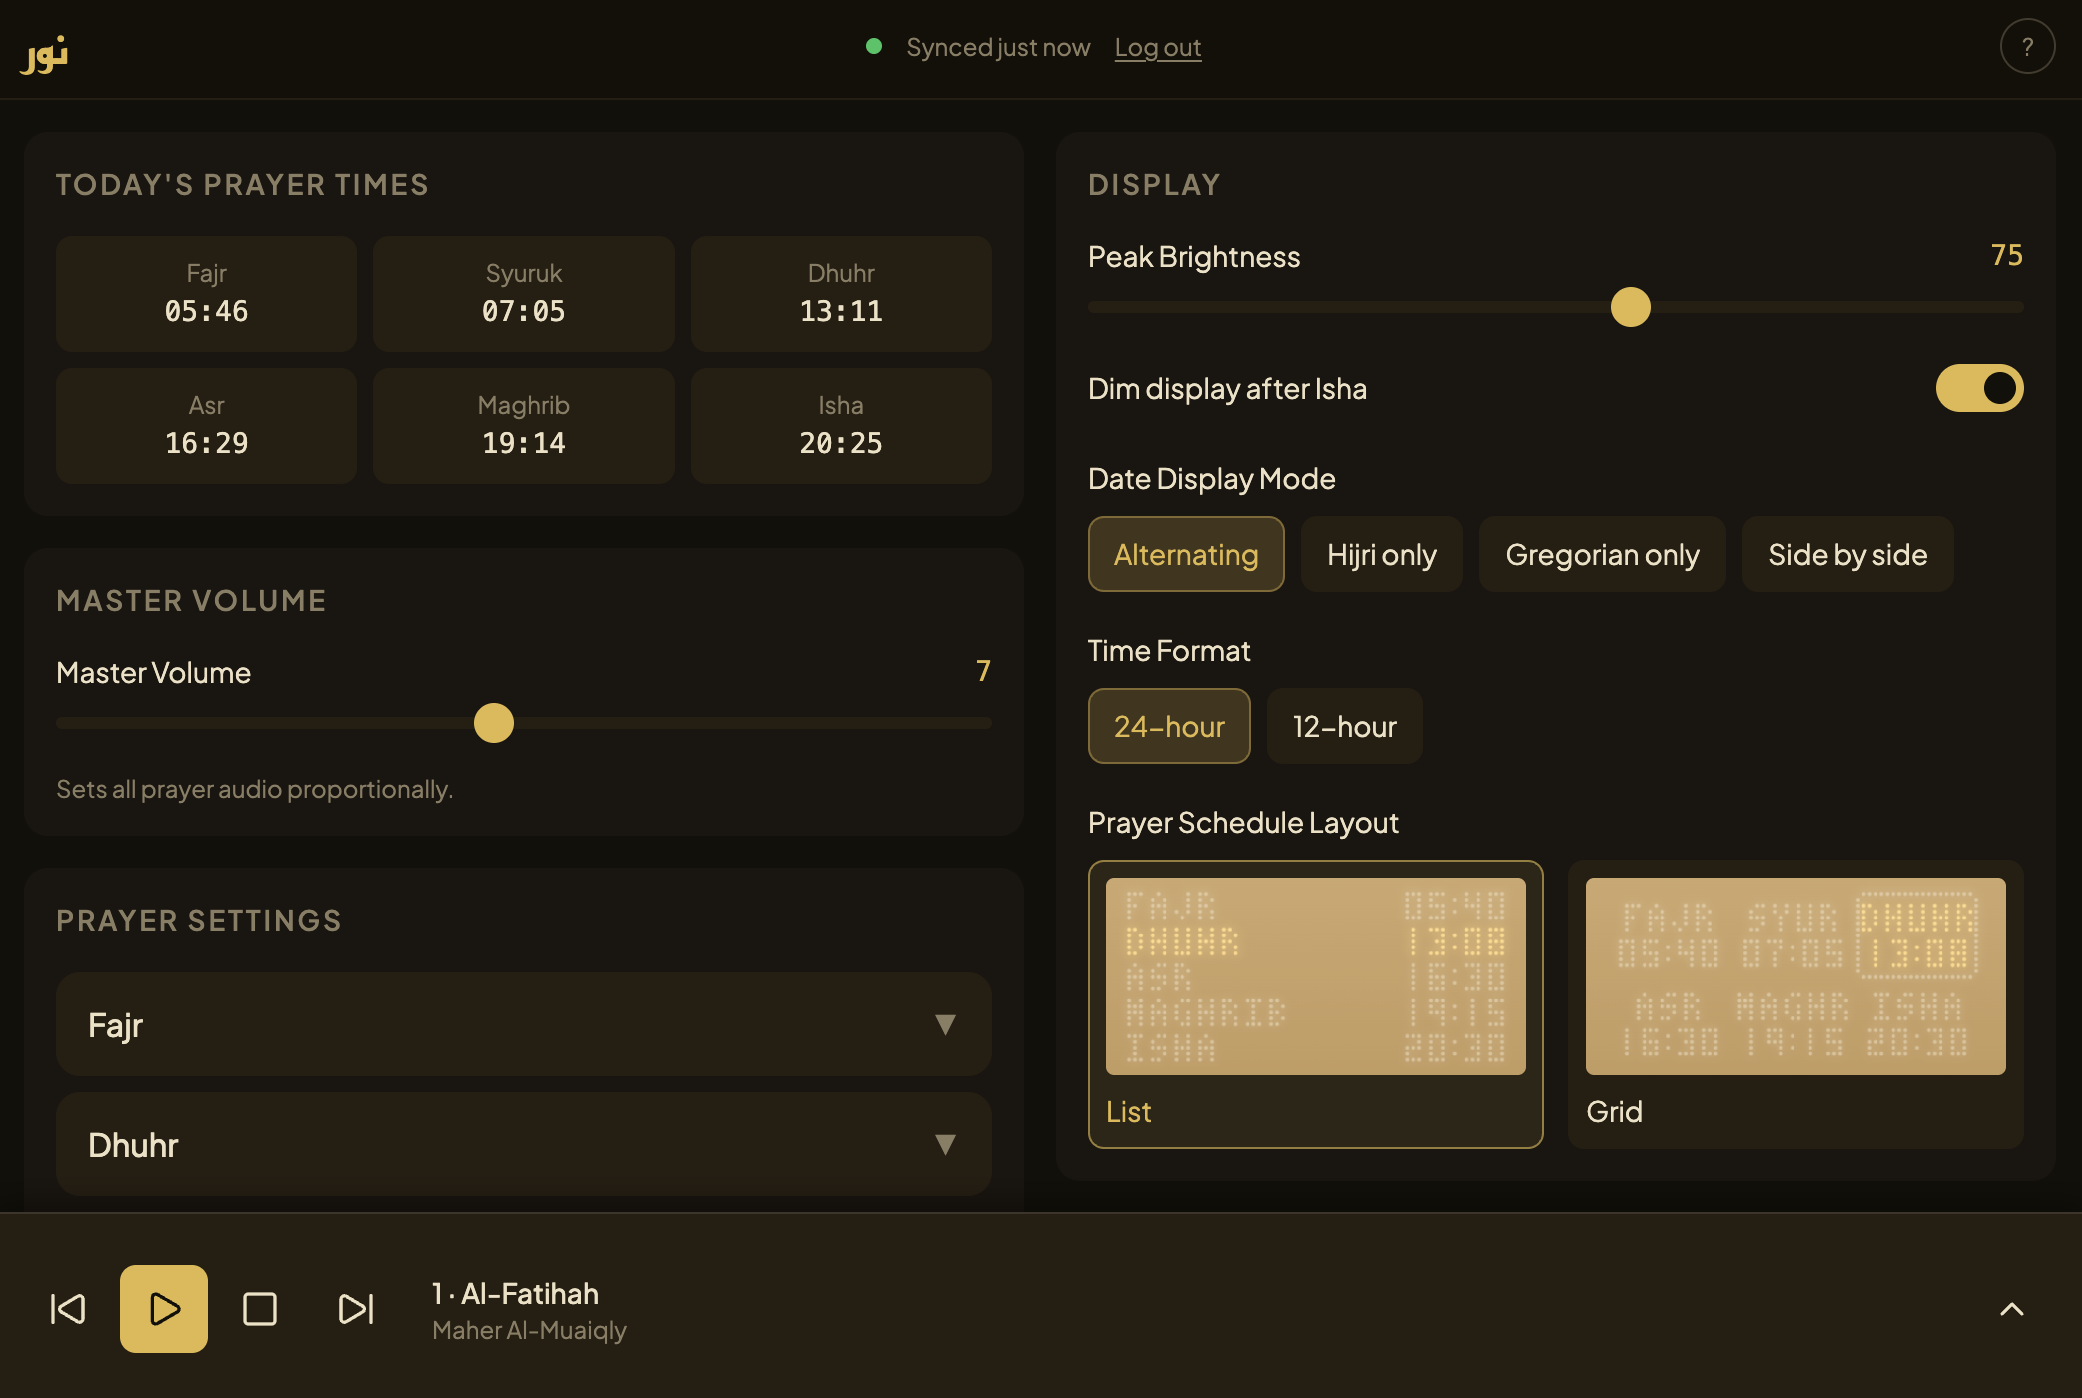
Today's prayer times, per-prayer controls, and display/Quran sections
Changes apply within seconds — your Nuur is notified the moment you save. If it happens to be offline at that exact moment, the change is picked up automatically the next time it syncs.
The three touch pads
Everything on the device itself is controlled with three capacitive touch pads on the front — ◀, نور, and ▶. What they do depends on what's currently playing.
Volume down, or scroll backward through surahs
نور
Tap, double-tap, or hold — meaning depends on context (below)
Volume up, or scroll forward through surahs
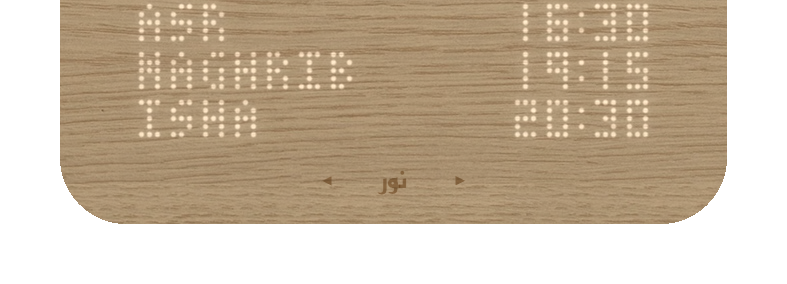
The three pads sit along the bottom edge of the face
| While showing the clock (not playing Quran) | What happens |
|---|---|
| Tap | Master volume up/down, shown briefly as a level bar |
| Tap نور | Start Quran playback |
| Hold نور (~1.5s) | Show the settings QR code for 60 seconds |
| While Quran is playing | What happens |
|---|---|
| Tap | Quran volume up/down — independent from master volume |
| Tap نور | Pause |
| Double-tap نور | Stop Quran and return to the clock |
| While Quran is paused | What happens |
|---|---|
| Tap | Scroll through surahs — the name appears on the display |
| Tap نور | Resume playback of the selected surah |
| Double-tap نور | Stop Quran and return to the clock |
During the adhan itself, only (master volume) respond — نور is disabled so it can't be interrupted by accident. To mute at any time, turn master volume all the way down with ; there's no separate mute button.
Playing the Quran
Quran recitation streams live over WiFi so you can choose from multiple reciters. If the connection ever drops, Nuur automatically restarts the current surah with a backup reciter saved on the device, rather than going silent.
Tap نور from the clock face
Playback begins immediately, picking up from where you last left off (or the beginning, the first time).
Adjust the volume with
This is a separate Quran volume from your prayer/adhan volume, so getting it right here won't change your adhan loudness.
Tap نور to pause, then browse surahs
Once paused, scroll through surahs by name instead of adjusting volume. Tap نور again to resume from the one you've chosen.
Double-tap نور to stop
Two quick taps (within about 0.5 seconds) return the display to the normal clock. A pre-adhan window or the adhan itself will also pause Quran automatically and resume it afterward.
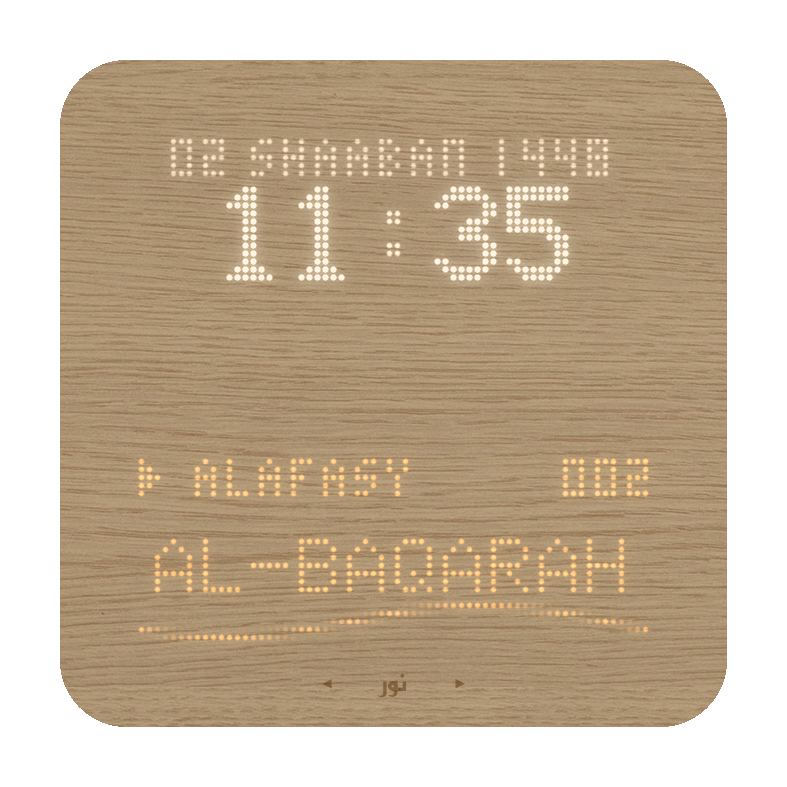
Set a sleep timer in the settings page if you'd like it to stop on its own
Reading the display
The display is organised into four fixed zones, top to bottom, so the information you need is always in the same place.
| Zone | Shows |
|---|---|
| Date bar | Today's Gregorian and Hijri date, in dim white |
| Main clock | The current time (HH:MM) in large digits, with small status icons |
| Banner | The single most relevant thing right now — e.g. an upcoming prayer countdown — shown in amber |
| Prayer schedule | All five prayers for the day in dim white, with the next upcoming one highlighted in amber |
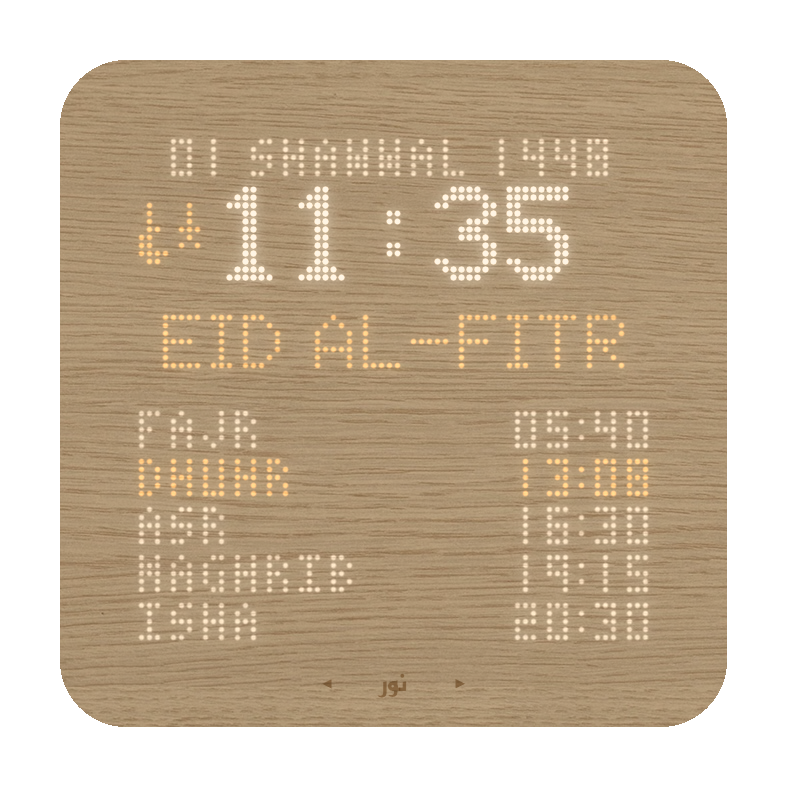
Dim white = general information · amber = what's happening now or next
During Ramadan, the same clock face automatically gains an overlay — Imsak time, the current Ramadan day number, and a Lailatul Qadar indicator on the likely nights — with nothing to turn on. It switches back on its own once Shawwal begins.
The status light
A single small LED on the rear of the device gives you an at-a-glance health check without needing to open the settings page.
Connected to WiFi and synced with MUIS — everything is up to date.
Connected to WiFi, but hasn't synced fresh MUIS times yet — usually resolves on its own within a few minutes.
Offline. Prayer times are still accurate — see below.
If your WiFi changes
If your Nuur loses its connection — a new router, a changed password, or a move to a new home — it doesn't lose accuracy. It keeps showing correct prayer times from its own memory and an onboard backup clock, and shows a small offline indicator so you know reconnecting is worth doing.
Hold نور
While offline, holding نور for ~1.5 seconds reopens the same setup network from Step 1 (NUURXXXX) instead of the settings QR code.
Reconnect exactly as before
Join NUURXXXX from your phone or laptop and enter the new WiFi network and password — exactly as you did during the first-time setup above.
No need to disconnect the device for a simple reconnect — a single hold of نور is enough. Disconnecting the device (the rear button) is only needed if you want to change WiFi while it's still connected, or to pass it on to a new owner.
Disconnecting the device
A small recessed button on the back handles both a simple restart and forgetting your WiFi — the difference is how long you hold it. This doesn't touch your settings — for a true factory reset that also clears them (e.g. before passing the device on), see Passing It On below.
| Press | Result |
|---|---|
| Short press | Reboots the device — same as unplugging and plugging back in |
| Hold ≥10 seconds | Clears saved WiFi credentials only, then restarts into the WiFi setup step above |
Your reciters, volumes, and other settings are kept in the cloud and are not erased by this button — only the saved WiFi password is cleared. That's exactly what you want for reconnecting to a different WiFi within the same home. If you're passing the device to a new owner, this button alone isn't enough — see Passing It On below.
Passing your Nuur to someone else
The rear button above only clears the saved WiFi password. Your settings — and your own browser's access to them — live in the cloud and survive that button on their own. To hand the device over cleanly, do both of these, in order.
Reset it from your settings page first
Open my.nuur.sg, scroll to the bottom, and tap Reset device to factory defaults in the Danger zone, then confirm. This clears every saved setting back to default and signs out every browser that had access to this device — including yours. It takes effect immediately, whether or not the device is online at that moment.
Then hold the rear button for 10 seconds
This is the same rear button described in Disconnecting the Device above. Holding it clears the saved WiFi password so the device disconnects from your home network and restarts into the WiFi setup step, ready for its next owner to connect it to theirs.
Do step 1 before step 2. Step 1 works from your phone right now — the device doesn't need to be nearby or even online. Step 2 just makes sure it stops using your WiFi; skipping it isn't harmful, but the device would keep running on your home network (with default settings) until someone else changes it.